The following article may contain affiliate links or sponsored content. This doesn’t cost you anything, and shopping or using our affiliate partners is a way to support our mission. I will never work with a brand or showcase a product that I don’t personally use or believe in.
Take Better iPhone Photos for Social Media
Quality photos will make or break your blog, Instagram, brand, or fillintheblankhere. Regardless of whether you’re a professional photographer, you’re almost expected to know how to take a beautiful photo if you’re a creative. As a professional social media marketer, the demand of quality photos on the fly is integral to my job. Today, I’m sharing my tips and tricks to taking the perfect iPhone photo every time — for work, for your travel diary, or for your Instagram.
1. Natural light
It’s shocking how natural light can immediately increase the quality of your photos. Natural light makes things look…well, natural. It brightens up your photograph, especially if you’re shooting a landscape or portrait. The best times to shoot? Early morning as the sun rises, or early evening as the sun sets.
2. Focus lock (AE/AF Lock)

Image by OS X Daily
We all know we can tap our iPhone screens to zoom in on a particular element. But if you’re taking the same shot repeatedly (and need your hands free), the focus lock is a great feature. Simply tap on what you want to focus on like usually, but hold your finger — your camera will show you’ve locked onto that spot. Tap anywhere on your screen to undo.
3. Adjust your brightness
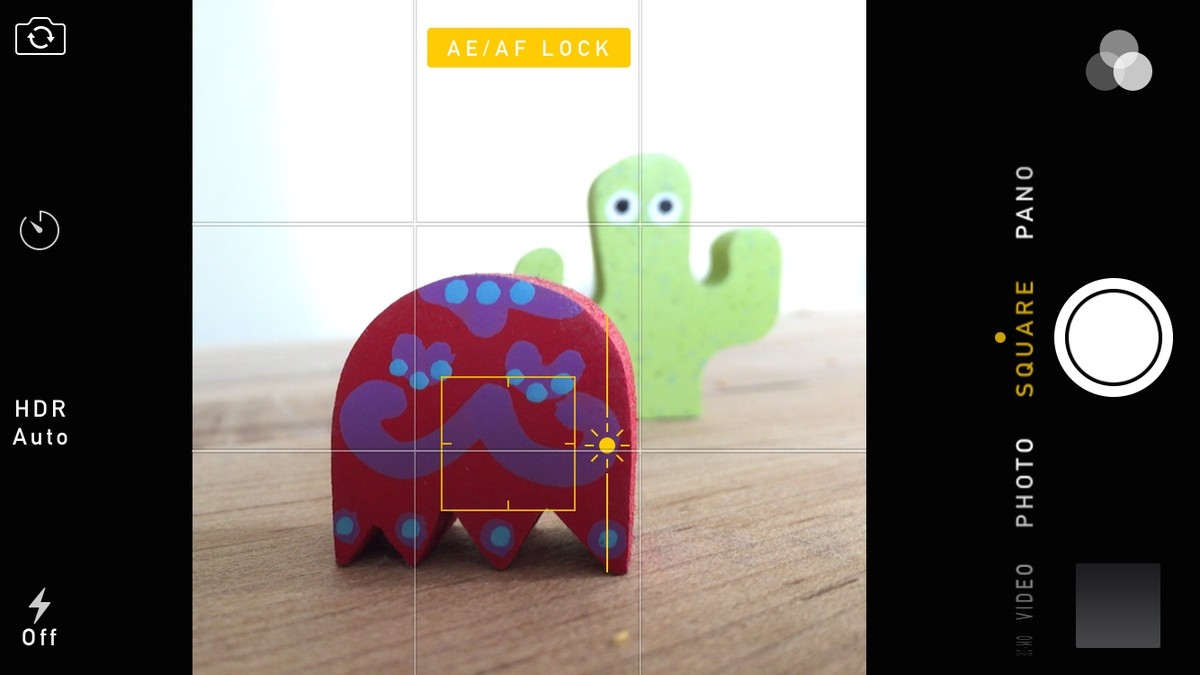
Image by iMore
This is one of my favorite iPhone tricks that I use constantly. When you tap and zoom, a little sun will appear on your screen. Simply drag your finger up to increase the brightness of the shot, or drag it down to make your scene darker. If you don’t have natural light or you’re shooting at night, this feature will be your best friend.
4. Utilize a lens
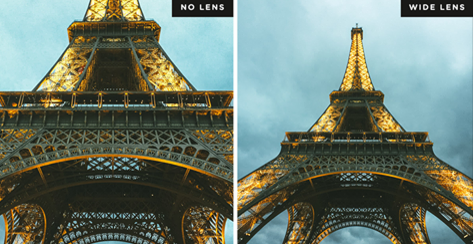
Image by Moment. See the difference?
If you need to be constantly on the go, are looking for convenience, or don’t have the money to drop on an expensive camera, an iPhone lens is the way to go. Simply attach it to your phone and shoot away. Moment is the leader in these lenses: I have their 18 mm fisheye lens and I absolutely love it for broader shots.
5. Add the grid
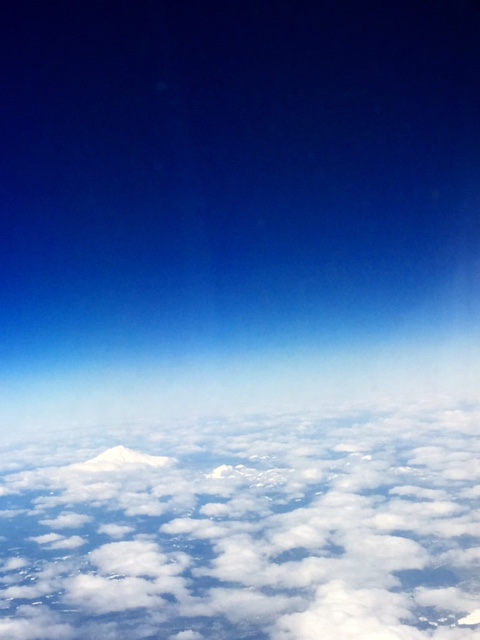
Hi pretty mountain!
You’ve heard of the Rule of Thirds. Putting the grid on your camera makes achieving it much easier. I recently took this photo from a flight from California, and used the grid to frame the mountain in the lower left square. This allowed me to use blank space to my advantage, and to balance the image.
Any other tips you love? Join the conversation on Twitter!